Research and Innovation

The NFSA is internationally recognised as a leader in audiovisual digitisation and preservation, renowned for landmark initiatives and projects. We are investing in new audiovisual forms and the necessary digital preservation innovations required to maintain and make discoverable an increasingly born-digital collection.
We collaborate on and initiate research projects in Australia and our region, and participate in professional networks locally and internationally.
Our Canberra site is a forum for knowledge exchange and our online spaces are platforms for sharing our research practice.


Latest research


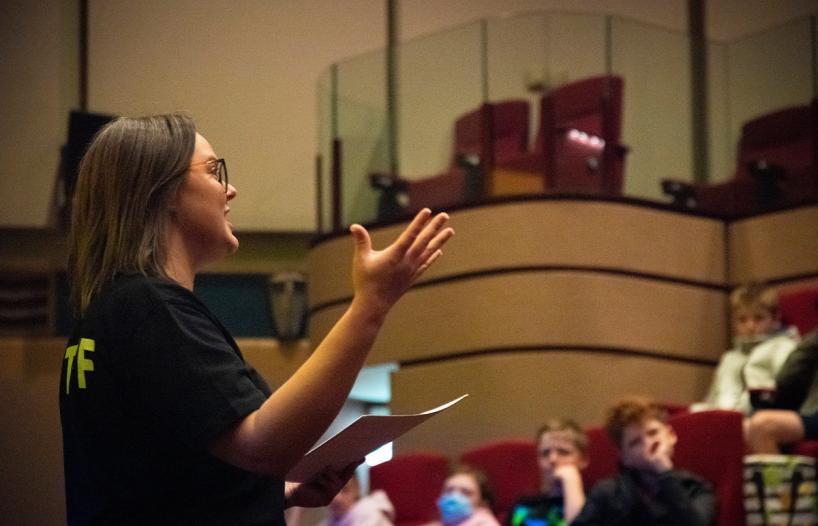
Conferences and Talks
See upcoming conferences, lectures and special events at the NFSA or delve into the treasure trove of ideas from past events.


Partnerships
We collaborate with partners across the cultural, education and public sectors on research projects and programs that grow knowledge and expand professional opportunities.

CSU Graduate Certificate in Audiovisual Archiving

ANU Collaborative Doctoral Program PhD Scholarships
.jpg?rect=0,23,818,481&w=640&h=376&fit=min&auto=format)
Addressing Misinformation with Media Literacy Through Cultural Institutions

Comedy Country: Australian Performance Comedy as an Agent of Change

Artistic Practice in Australian Video Game Development
National and international networks
The NFSA is a member of the following national and international networks:
Australian Digital Alliance (ADA)
The ADA is a broad coalition of copyright users and innovators who support copyright laws that strike a balance between providing reasonable incentives for creators and the wider public interest in the advancement of learning, innovation and culture.
AI for Libraries, Archives, and Museums (AI4LAM)
AI4LAM is an international, participatory community focused on advancing the use of artificial intelligence in, for and by libraries, archives and museums.
Australian Museum and Galleries Association (AMaGA)
Australian Museums and Galleries Association Incorporated (AMaGA) is the national association and peak advocacy body representing museums and galleries.
Association of Moving Image Archivists (AMIA)
AMIA is a non-profit international association dedicated to the preservation and use of moving image media. AMIA supports public and professional education and fosters cooperation and communication among the individuals and organisations concerned with the acquisition, preservation, description, exhibition and use of moving image materials.
Australian Media Literacy Alliance (AMLA)
The Australian Media Literacy Alliance is an unincorporated group of organisations whose objectives in the area of media literacy are closely aligned.
Australasian Registrars Committee (ARC)
The Australasian Registrars Committee aims to represent and promote the role of registrars, collection managers and registration practices in cultural institutions both on a national and international level.
Australian Society of Archivists (ASA)
The Australian Society of Archivists Inc. (ASA) is Australia’s peak professional body for archivists and recordkeepers. We advocate on behalf of archivists and the archival and recordkeeping profession and seek to promote the value of archives and records and support best practice standards and services.
Australasian Sound Recordings Association (ASRA)
The Australasian Sound Recordings Association (ASRA) was formed in 1986 from the Australian Branch of the International Association of Sound Archives.
Copyright Society of Australia (CSA)
The Copyright Society of Australia is a not-for-profit society dedicated to studying copyright law and related matters. The CSA is an independent organisation and does not seek to represent the interests of any particular special interest group. The purpose of the society is to provide a forum for education, discussion and exchange of ideas and information about copyright issues. CSA members are copyright professionals.
Diversity Council Australia (DCA)
Diversity Council Australia (DCA) is the independent not-for-profit peak body leading diversity and inclusion in the workplace. It provides unique research, inspiring events and programs, curated resources and expert advice across all diversity dimensions to a community of member organisations.
Digital Preservation Coalition (DPC)
The Digital Preservation Coalition is a welcoming and inclusive global community, working together to bring about a sustainable future for our digital assets.
The International Federation of Film Archives (FIAF)
FIAF, the International Federation of Film Archives, has been dedicated to the preservation of and access to the world's film heritage since 1938. It brings together the world's leading non-profit institutions in this field.
The International Federation of Television Archives (FIAT/IFTA)
FIAT/IFTA is the world’s leading professional association for those engaged in the preservation and exploitation of audiovisual archives.
International Association of Sound and Audiovisual Archives (IASA)
The International Association of Sound and Audiovisual Archives (IASA) is a professional association concerned with the care, access and long-term preservation of the world's sound and moving image heritage.
International Federation of Library Associations and Institutions (IFLA)
IFLA is the global voice of libraries, representing the interests of the profession and working to improve services worldwide. We benefit from a strong membership, a vibrant professional community and close collaboration with partners.
SouthEast Asian-Pacific AudioVisual Archives (SEAPAVAA)
The SouthEast Asia-Pacific AudioVisual Archive Association (SEAPAVAA) is an association of organisations and individuals involved in the development of audiovisual archiving in Southeast Asia and the Pacific to preserve and provide access to the region’s rich audiovisual heritage.
Software Preservation Network (SPN)
SPN is a coordinated, distributed effort to ensure long-term access to software through community engagement, infrastructure support and knowledge generation.
Sustainable Screens Australia (SSA)
Sustainable Screens Australia (SSA) enables and encourages the Australian film and television industry to embed sustainability into the everyday.
Contact our team at research@nfsa.gov.au for enquiries about partnerships and our archiving research.
For enquiries about using and searching the collection, please refer to our industry and research services.