Splices
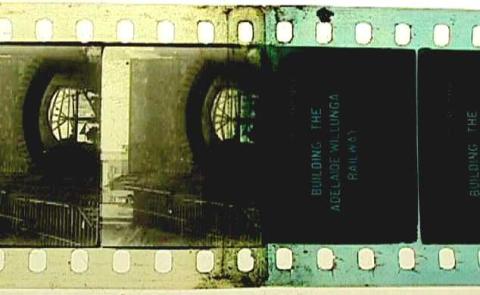
A splice joins sections of film together. Splices may be required to join the film together because of breakage or as part of the editing process. They are usually noticeable. There are various methods of splicing film. Ensure that splices are correctly aligned, especially shrunken material, and carefully trim edges to eliminate sharp corners and bumps. For splice repairs, the NFSA uses splicing tape that passes the Photographic Activity Test (PAT).
Tape splices
Tape splices are recognisable by the ends being butted together (also referred to as a butt splice). The whole splice is held together across its width by splicing tape. Tape splices do not overlap; they are merely ‘butted’ together.
A potential issue with old tape splices is the adhesive bleeding out under the tape and spreading to areas of the film where it is not required, causing the film surfaces to adhere to each other. This is a problem when winding or projecting and may damage the film if care is not taken. Modern tape splices use PAT-splicing tape to prevent this from happening.
Old tape splices can also be weakened by ultrasonic cleaning techniques. If the film is old, the splices will usually need restoration.

Cement splices
Cement splices are characterised by the film overlapping across its width in a strip a couple of millimetres wide. Historically, cement splicing was used for cellulose-based film splicing. The NFSA no longer uses film cement due to its toxicity, unavailability for purchase, and unpredictability of forming a strong bond with certain film stocks.
This method used film cement to bond two sections of film together. Cement splices can be made by hand or by using a film splicer. This mending method requires time for the cement to cure, resulting in a lengthy treatment process when the film requires multiple reinforcements or restoration.
Ultrasonic splices
Ultrasonic splices are mainly used on polyester-based films. No tape or cement is involved; the film is welded together with an ultrasonic splicer. As the film is physically welded together, the process is not reversible.
Testing a splice
Splices must be tested to see if they will endure a cleaning machine, printing processing and projectors. Any splices that break or come apart during this process should be re-spliced. To test a splice, wear nitrile gloves to hold the film on either side of the splice and test its ability to loop and twist. Splices should not peak at the top. Check the following:
1. Opaque sections on a splice indicate that the splice has not bonded effectively, and the film may need to be re-spliced.
2. The corners of each splice need to bond effectively. Corners can catch during printing or cleaning and rip the film, and any splices with jagged corners should be reinforced with splicing tape.
3. Narrow splices, less than half a perforation pitch, will usually break during looping and twisting and should be reinforced with splicing tape.
4. Jagged corners on splices will require their edges to be trimmed.
Separating a splice
Most cement splices can be easily separated by lifting a corner of the splice with a thumbnail or scalpel blade. Once one corner has been lifted, slide the back, blunt side of the scalpel blade along the inside of the splice to separate it.
For tape splices, use tweezers to peel back the tape. If the tape has been applied over the base, it should be removed easily. If the splice has been applied over the film emulsion, be aware that splice removal can damage the emulsion. Use a small amount of isopropyl alcohol with a cotton bud to assist in the removal of any remaining adhesive residue.
Shrunken and non-shrunken film splices
Splices between films with shrinkage variation (such as where leaders join the film) will need tape splicing. When the splice is misaligned and the perforations do not match up:
- centre the join so that an equal amount of film overlaps each edge of the shrunken material
- taper both sides using the splicing tape so that there is no edge to catch when cleaning or digitising.
The National Film and Sound Archive of Australia acknowledges Australia’s Aboriginal and Torres Strait Islander peoples as the Traditional Custodians of the land on which we work and live and gives respect to their Elders both past and present.


